# Setup a custom CDN using the Akamai CDN provider
In this article we will explain how a third party CDN can be used with the IOIO.tv services. Before we start there are a few things that needs to be done.
Akamai is a Content Delivery Network provider with one of its specialty being video delivery. There are two services which are of interest when using the IOIO Platform.
- The first is the MSL3/4 service is for distributing Live Streams. The live content is being pushed to the Akamai CDN with the end users being served the stream via the Akamai CDN.
- The secont service which is of interest to the IOIO users is the Adaptive Media Delivery. This is a service which pulls the content from a location and serves it to the end users. This service is what we will be using in this short article on how to configure a third party CDN.
Prerequisites:
- IOIO.tv account with administration rights
- IAM User with S3 access role for the Akamai authorization
- Akamai account
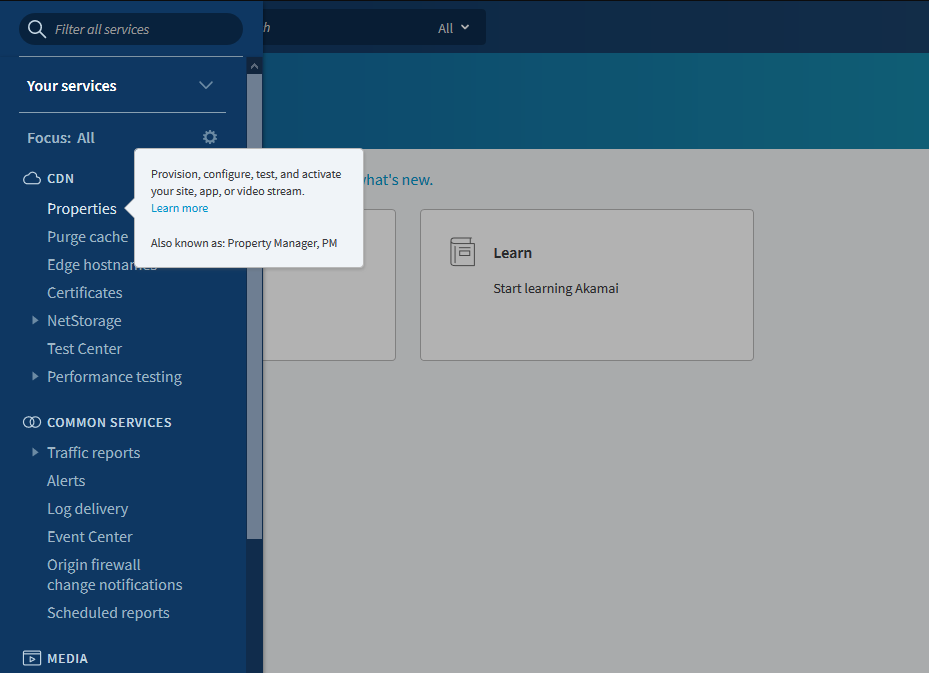
Now when we're logged into the Akamai interface. Open the Slide-out menu and click on Properties.
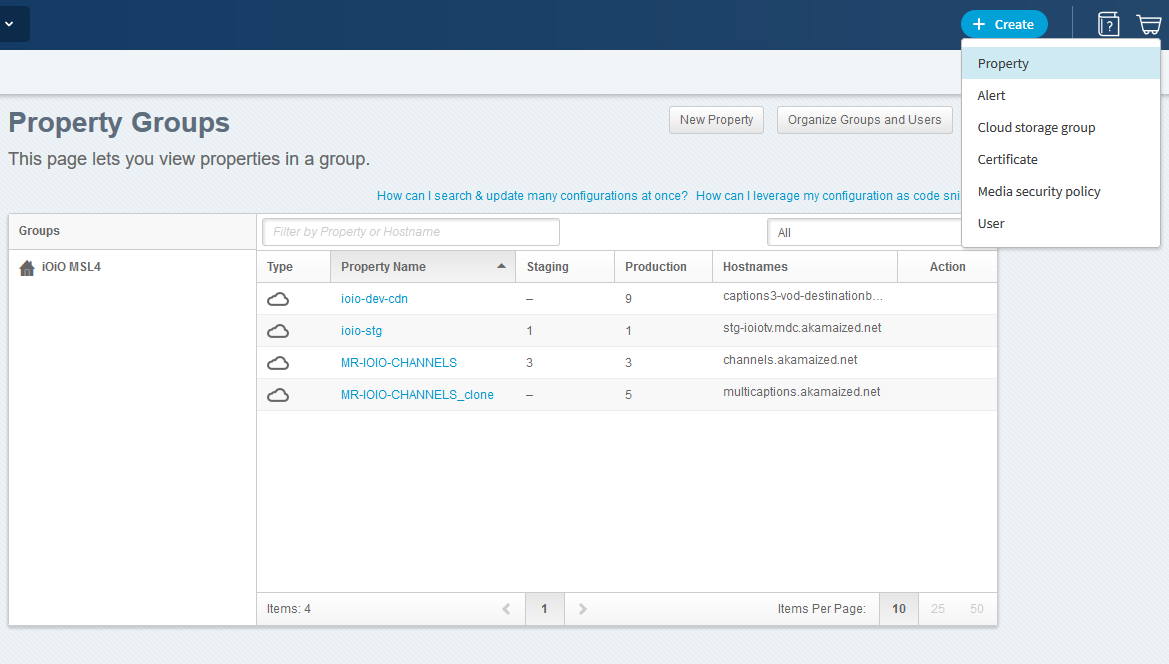
The next screen which opens is the Property Groups. From here click on the +Create button and select Property
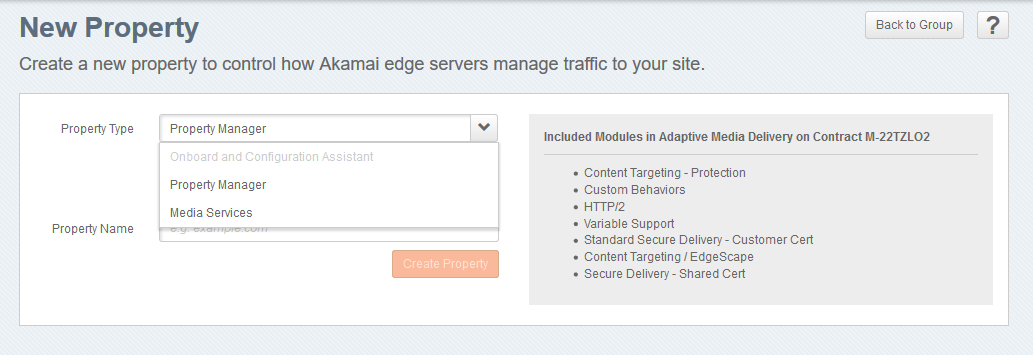
In the next screen there is a dropdown menu. Make sure that the Property Manager is selected for Property Type and for product is selected Adaptive Media Delivery, like in the screenshots below:
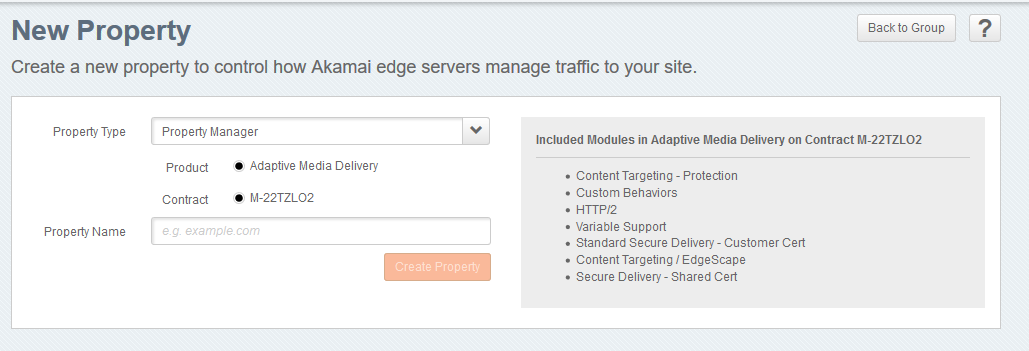
Enter a name for your property and click on the Create button.

From the Property Version Information section select for Security Options the Shared Cert radio button
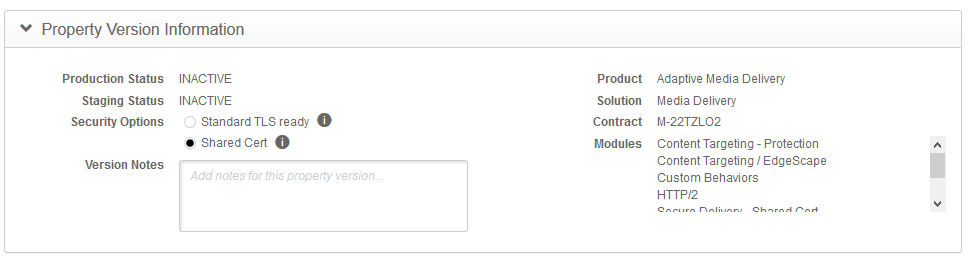
Scroll down to Property Hostnames and click on the down arrow next to the Add button. From there click on the Add Shared Certificate Hostname 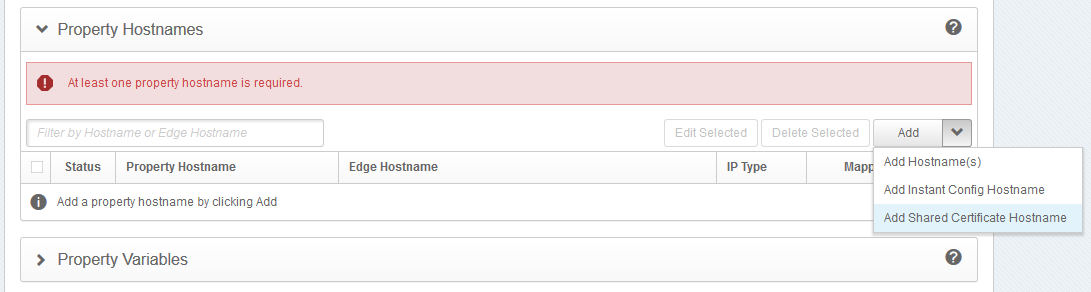
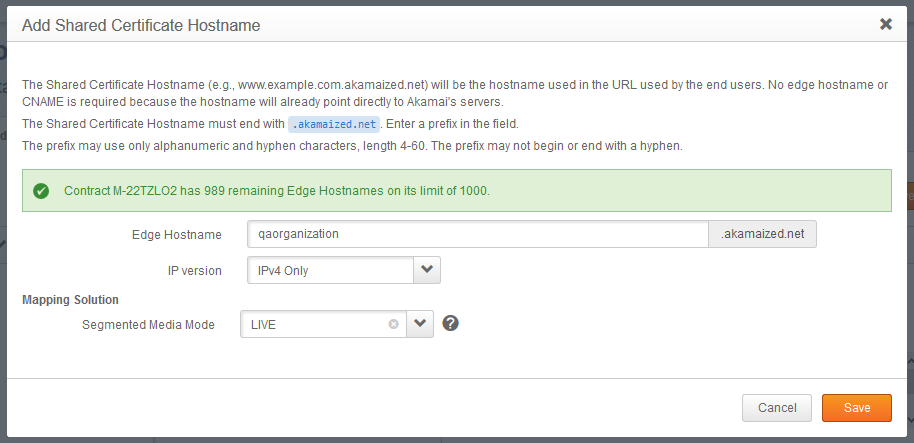
Write a hostname that you would like to use. Next is IP Version as this screen is almost self explanatory. We can choose whatever we need or just go with IPv4 if not sure how our application handles IPv6. In this case as we do not need IPv6 we will select only IPv4. Now we need to choose the Mapping Solution. Now although we are doing it for the VOD and Broker services, we need to choose the LIVE Segmented Media Mode. This is required as there are linear channels which use VOD's but mimic the Live stream behavior, thus LIVE is preferable for this application.
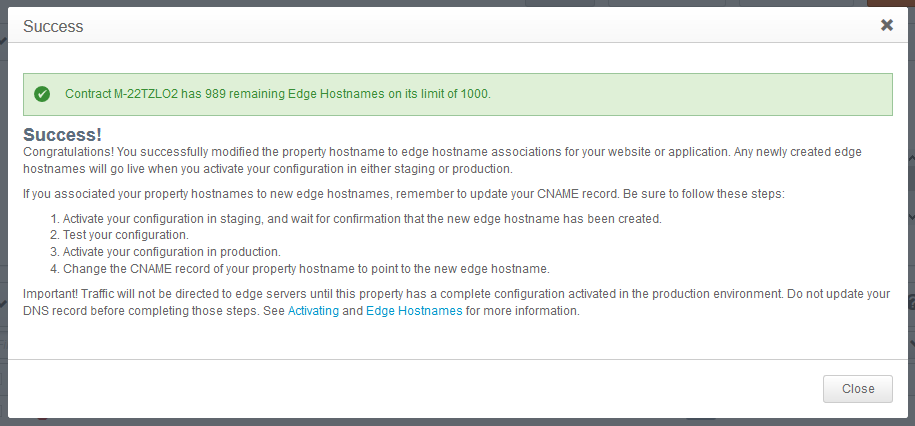
Once Saved a Success pop-up will be displayed with a few steps to follow. Click on the Close button and we will continue on with the rest of the setup:
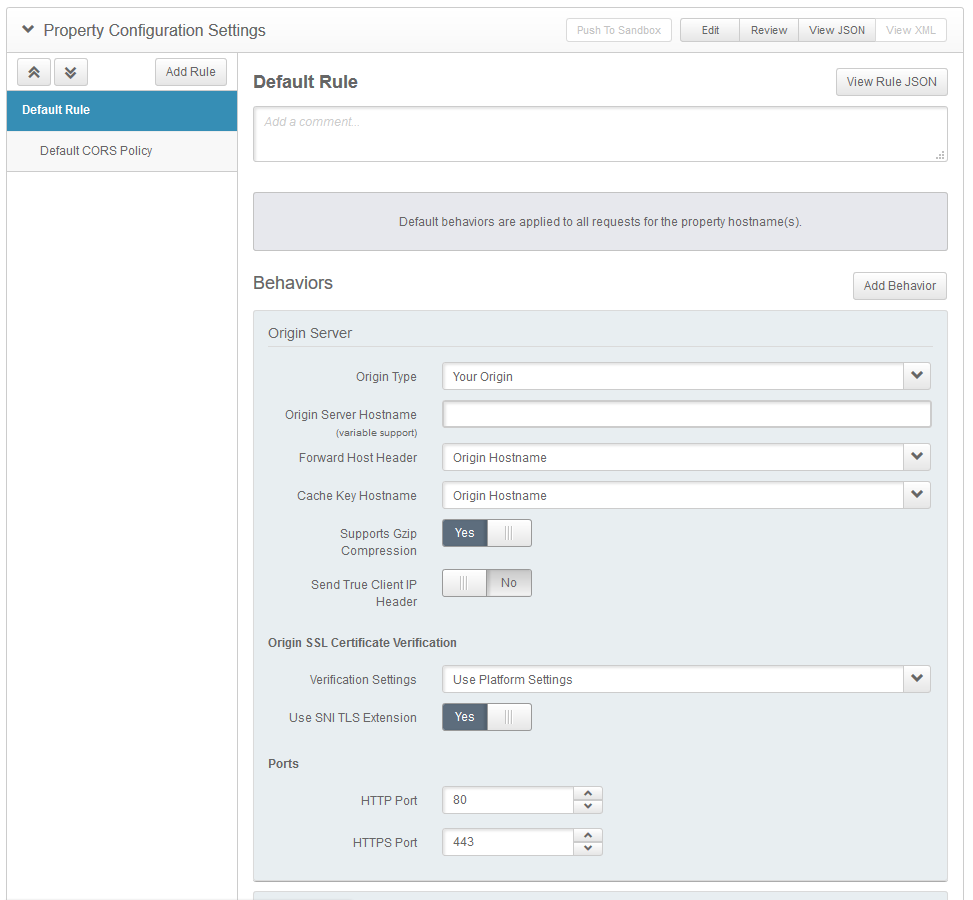
Now scroll down to the Property Configuration Settings. Locate the Behaviors section and choose the following:
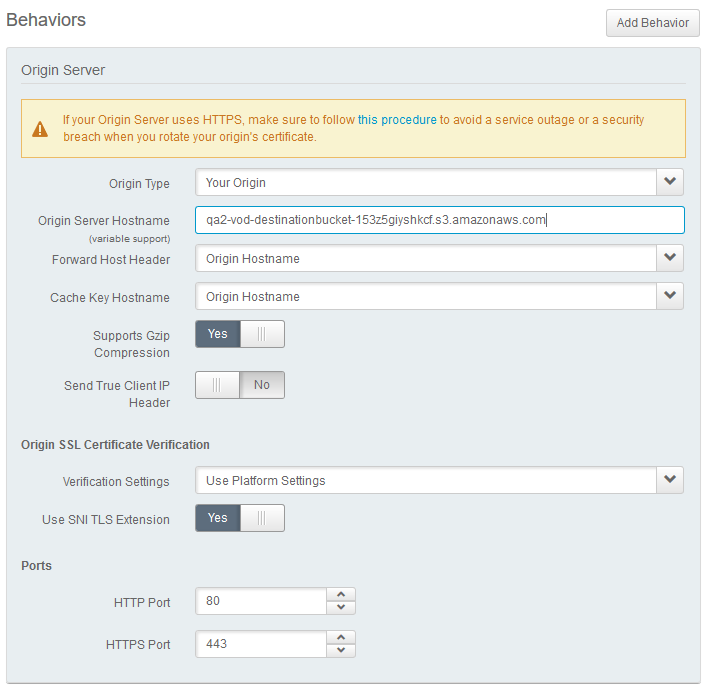
Origing Server
- Origin Type -> Your Origin
- Origing Server Hostname -> S3 Bucket from which you would like to have the videos served via the CDN.
- Forward Host Header -> Origin Hostname
- Cache Key Hostname -> Origin Hostname
- Supports Gzip Compression -> Yes
- Send True Client IP Header -> No
- Verification Settings -> Use Platform Settings
Scroll down to the Content Provider Code and select your code or create new if you don't have any. For Segmented Media Delivery Mode select Live. For Origin Characteristics if you don't know what to select, just leave it to Unknown, otherwise a region can be selected from the dropdown menu. Now the tricky part comes. For Authentication Method select Amazon Web Services
As we can see we now have three fields that are outlined in red.
These are:
- Access Key ID
- Secret Access Key
- Region
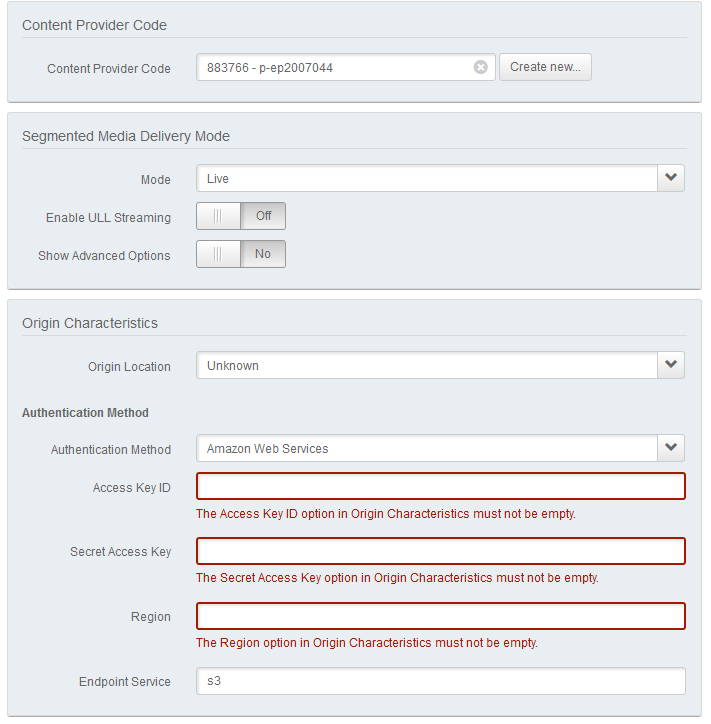
Fill out these fields with the credentials of the user that has been created which has access to the S3 bucket.
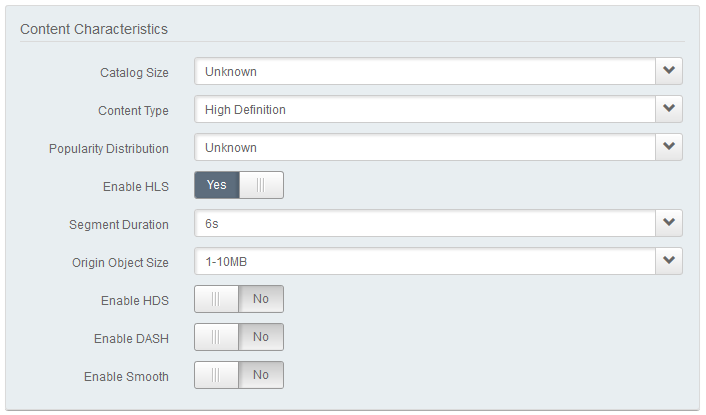
Now move onto the Content Characteristics. The following settings can be applied in it:
Content Characteristics
- Catalog Size -> Unknown
- Content Type -> High Definition
- Popularity Distribution -> Unknown
- Enable HLS -> Yes
- Segment Duration -> 6s
- Origing Object Size -> It is usually between 1-10MB, however there can be exceptions depending on the Quality of the served video. If unsure, just leave it at Unknown.
The other settings for HDS, DASH and Smooth can be disabled.
The rest of the settings can be left with their default values:
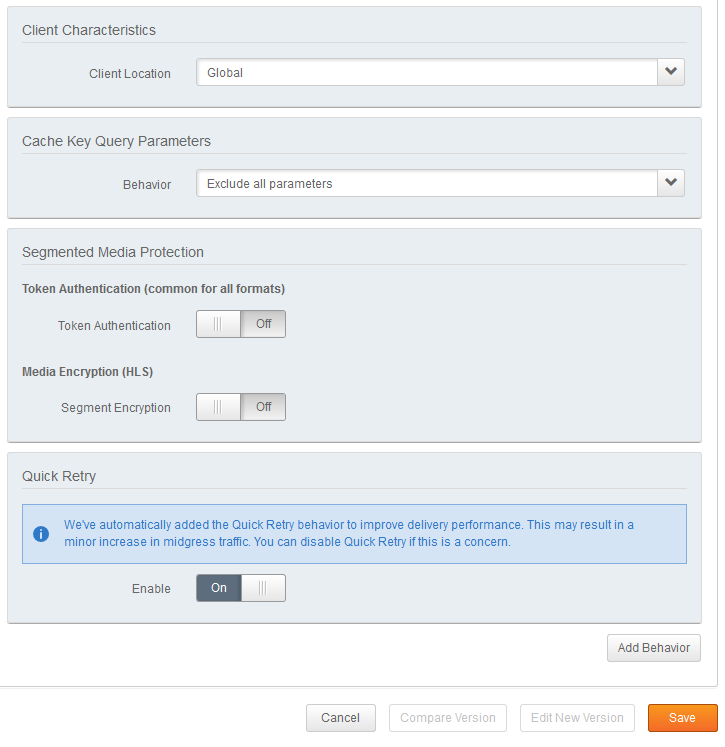
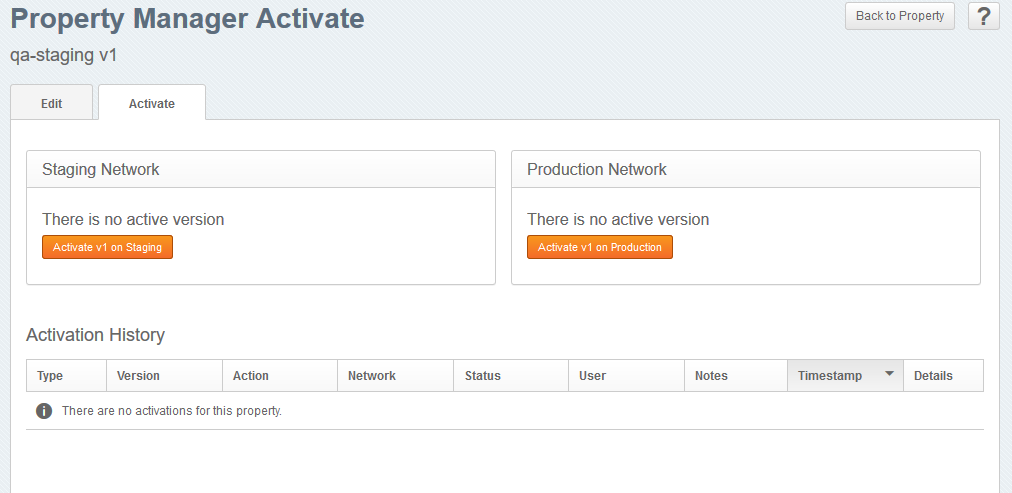
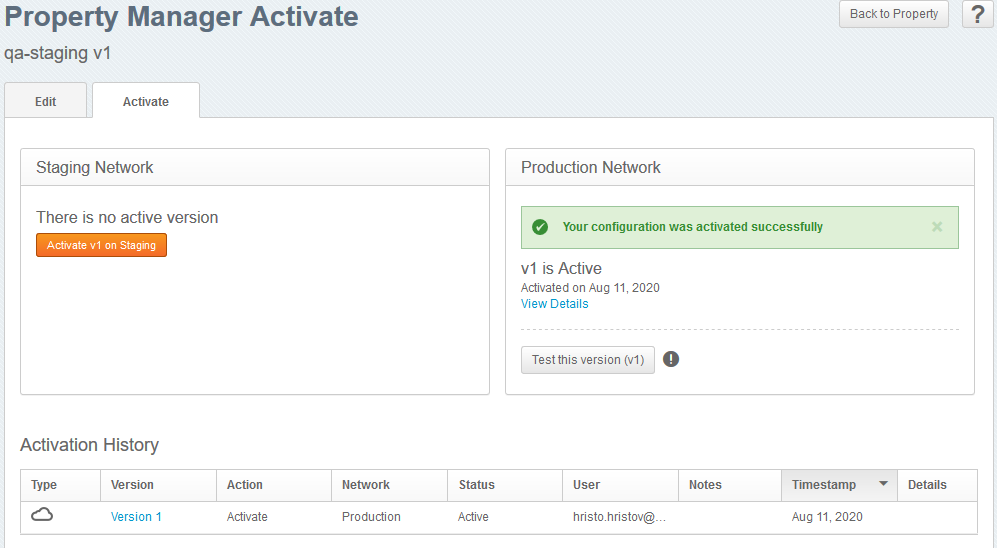
Now Click on Save. There is a brief loading screen followed by the Property Manager Editor in which we have the now saved settings for the custom CDN. Click on the Activate tab in order to follow the steps for activation.

From this tab just click on Activate v1 on Production in order to activate the setup that we've just prepared.
There could be a warning message when trying to activate the version on Production:
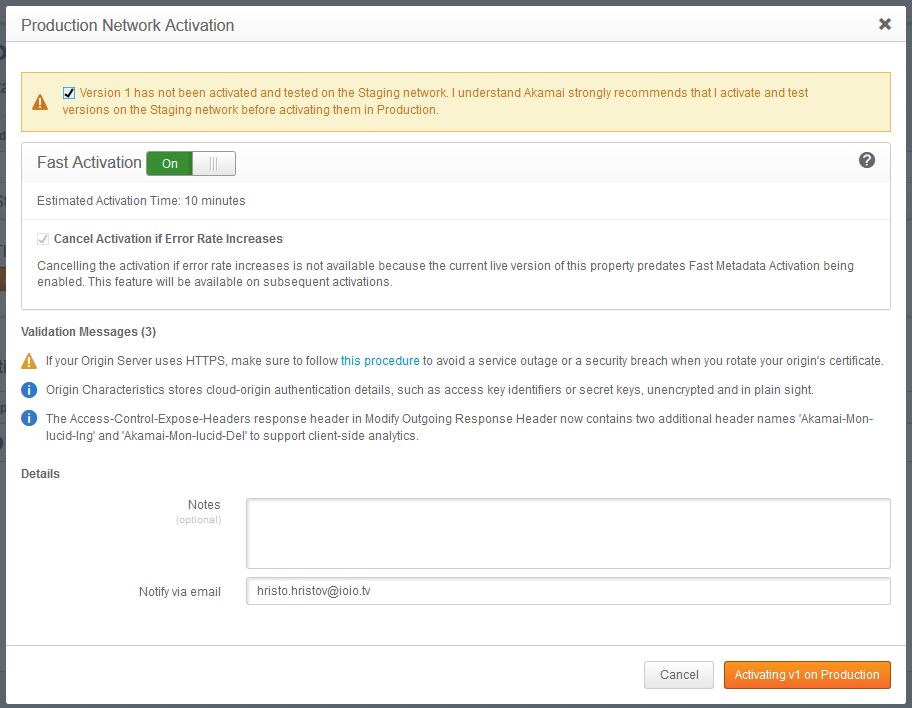
You can just go ahead and skip it so that the activation process can start:
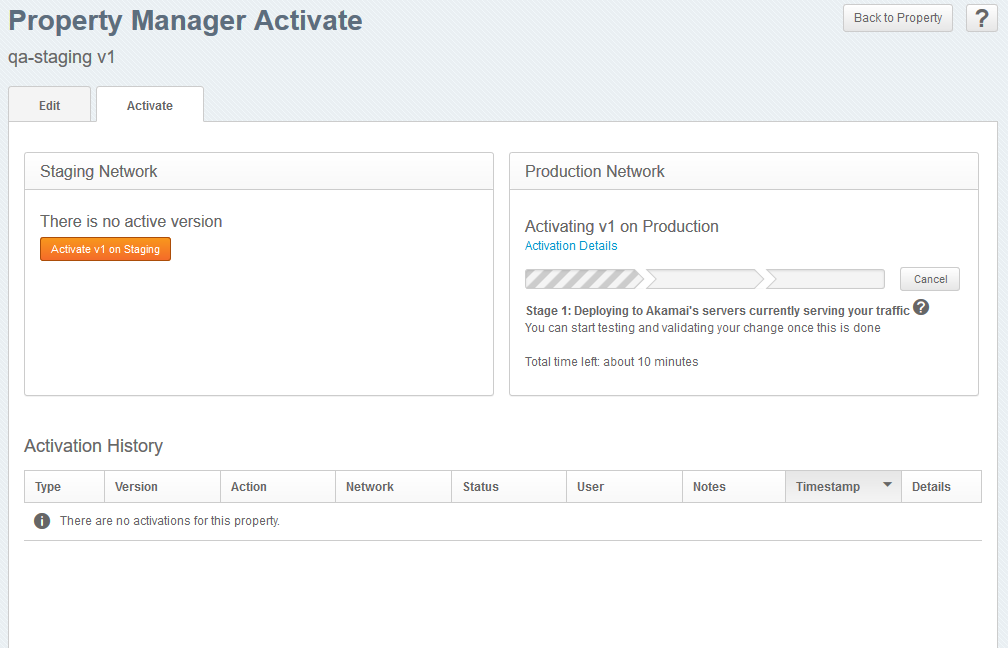
Once the activation has been completed the following message will be displayed:
Now that this has been done log into your IOIO account and open the Settings page:
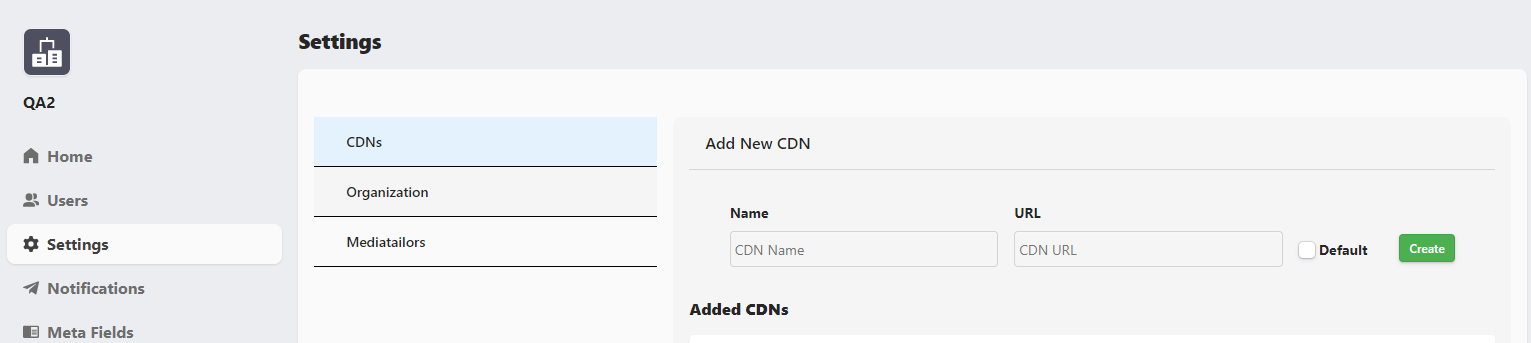
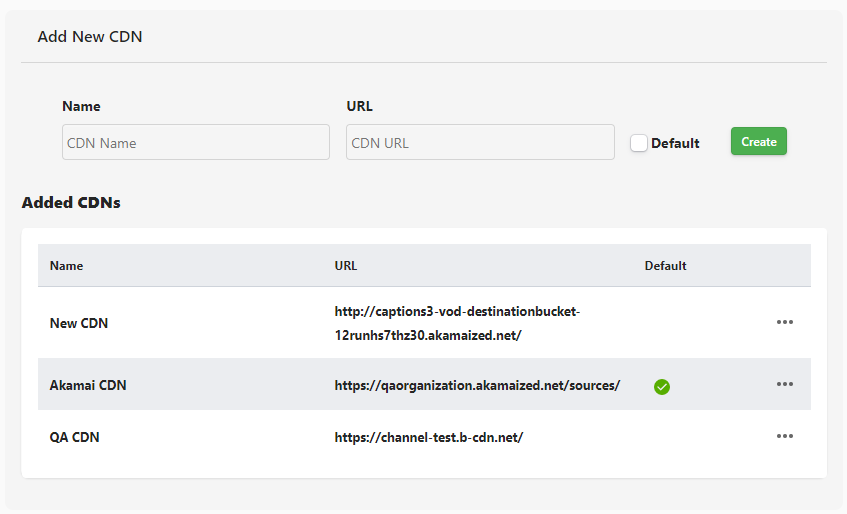
Enter a name for your new CDN and the URL that it's using:
Note
- The name of the CDN can be any random string
- The URL is the Edge Hostname URL with an additional /sources afterwards

If you want to have this set as default at the moment of creation, check the Default checkbox and click on Create
When this is done we have the new CDn created and it is set as default:
After all of the above steps are completed, your content is served via the third party CDN that you've just configured.